stock code
300820.SZ

EV Charger Installation Process
Knowing the EV charger installation process helps you make informed decisions, ensure a safe and efficient installation, and maximize the benefits of owning an electric vehicle.
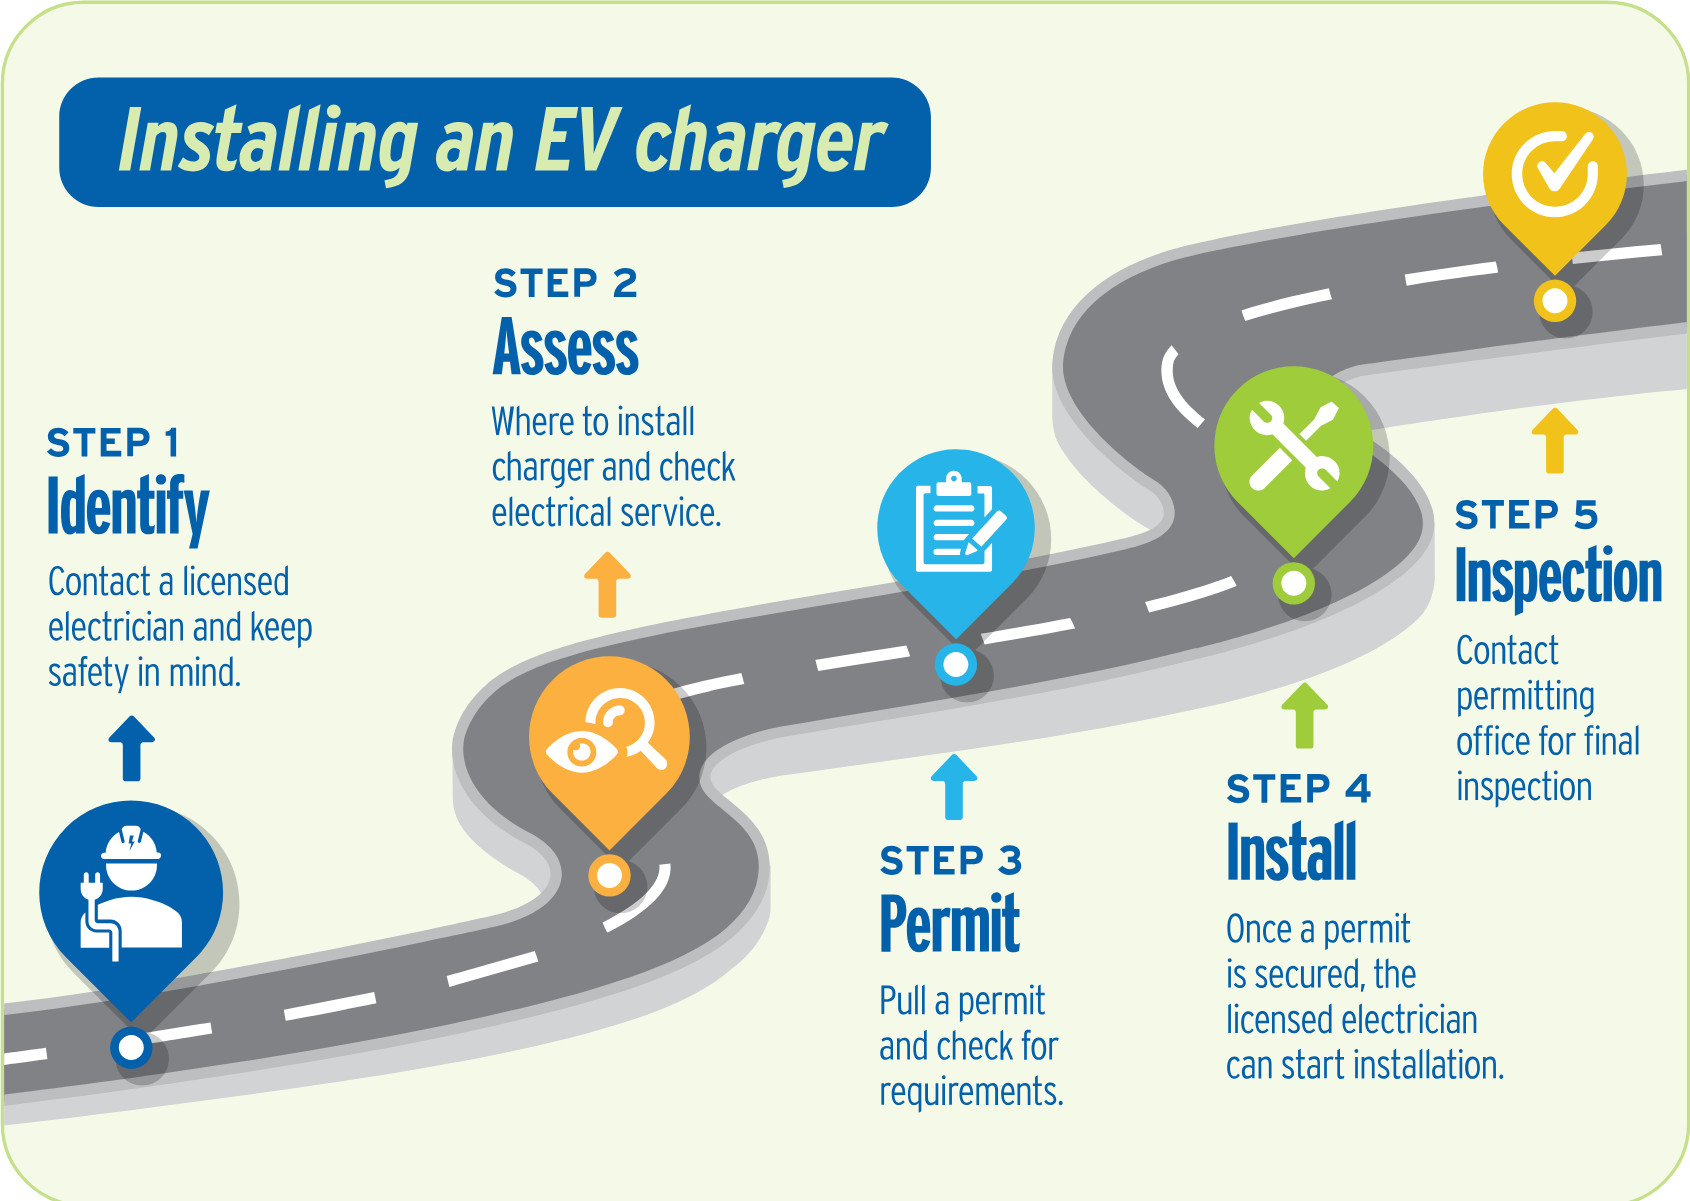
1.Site Assessment:
Location and weather conditions: Determine the optimal location for the charger, considering factors like proximity to your vehicle's parking spot, electrical panel, and outdoor weather conditions.
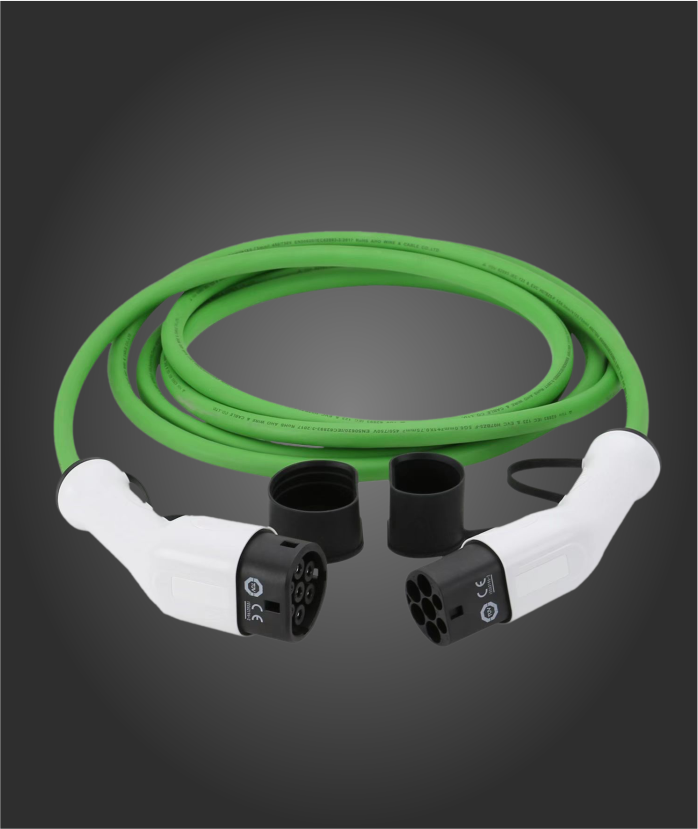
If the power supply is a longer distance from the charging station, you may need to purchase a longer cable. In general, the longer the distance, the higher the number of cables and cable specifications required.
Try to avoid ev charger exposed to the outdoors, wet or high temperature weather will lead to accelerated aging and rust of charging pile, and there are also high requirements for heat dissipation of power conversion.
Electrical Capacity: Assess your home's electrical panel to ensure it can handle the additional load of an EV charger. This may require an upgrade.
2.Permit Acquisition:
Local Regulations: Check with your local building department to determine if permits are required for the installation.
Permit Application: Submit the necessary paperwork and fees to obtain the required permits. Safety permits ensure that the installation adheres to local electrical codes and safety standards, reducing the risk of electrical hazards.
Equipment Selection:
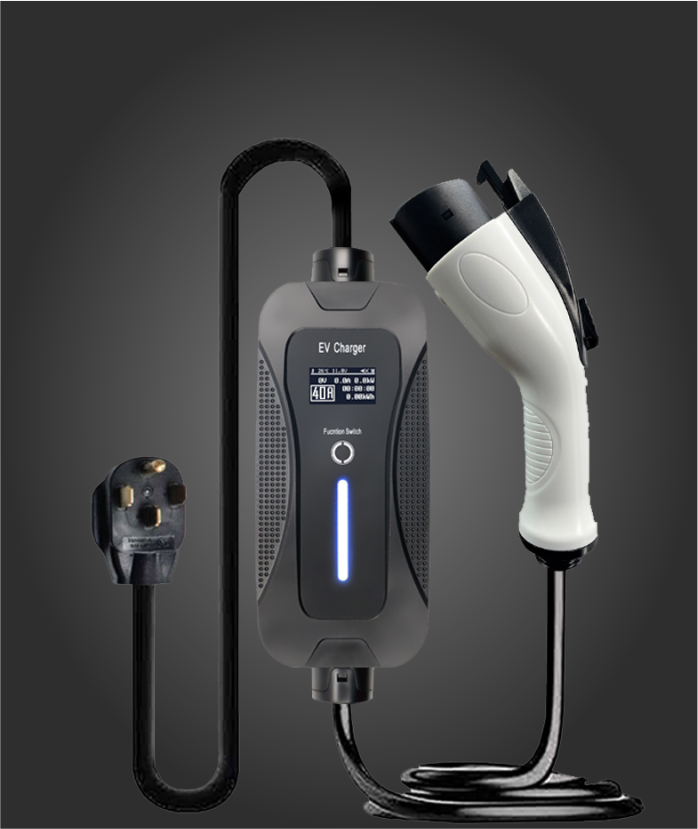
Charger Type: Choose a charger that suits your specific needs, considering factors like charging speed, smart features, and compatibility with your EV.
There are three main types:
- Level 1 Charger: Uses a standard 120-volt outlet; slow charging (24-36 hours for a full charge).
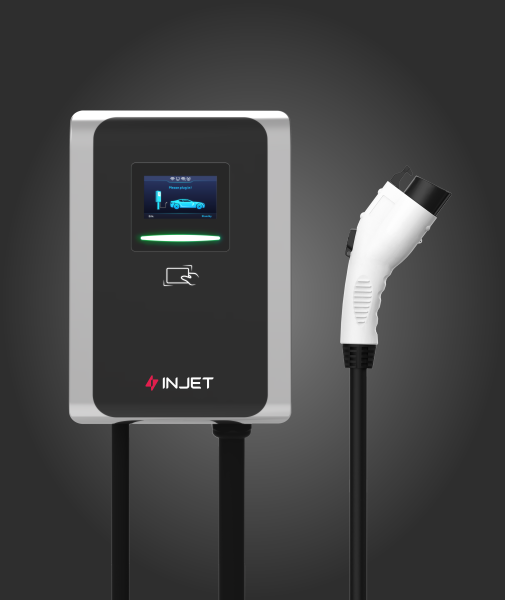
- Level 2 Charger: Requires a 240-volt outlet; faster charging (4-6 hours for a full charge) and is the most common choice for home installations.
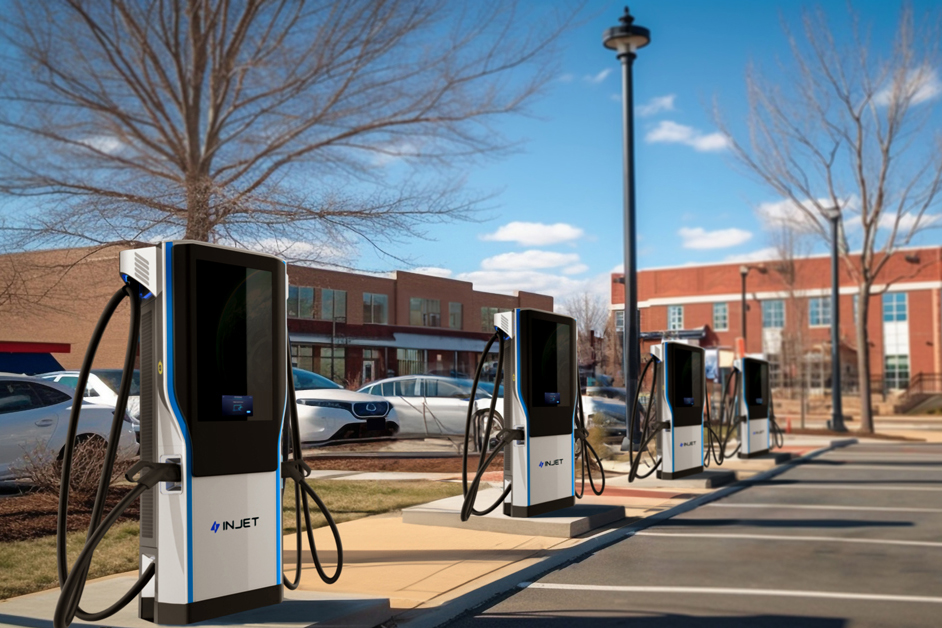
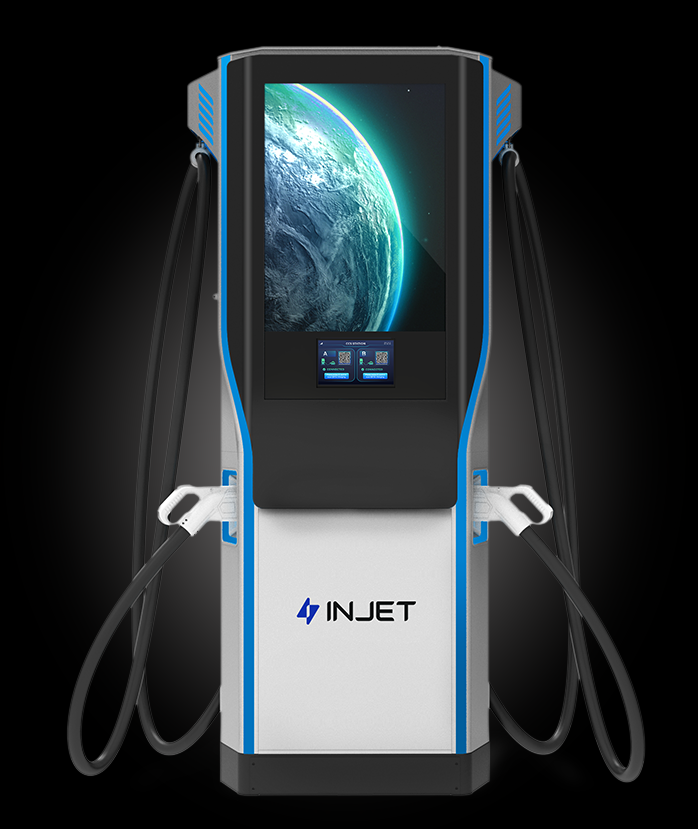
- DC Fast Charger: Not typically used in homes; found in commercial settings and can charge vehicles in about 30 minutes24.
Installation Kit: Ensure you have all the necessary components, including the charger, cables, mounting hardware, and junction boxes.
3.Wiring Installation:
Circuit Breaker: A dedicated circuit breaker will be installed in your electrical panel to supply power to the charger.
Wiring: A cable will be run from the electrical panel to the chosen installation location.
Outdoor Installation: If installing outdoors, ensure the wiring is properly protected from the elements.
4.Charger Installation:
Mounting: The charger will be securely mounted to the wall or a post, depending on the chosen location.
Cable Connection: The charging cable will be connected to the charger.
Electrical Connections: The wiring from the electrical panel will be connected to the charger.
Follow these steps during installation:
- Turn off power to the electrical panel.
- Mount the charger according to manufacturer instructions, either on a wall or pedestal.
- Run wiring from the electrical panel to the charger location.
- Connect wiring to both the circuit breaker and the charger itself.
- Restore power to the electrical panel.
5.Testing and Commissioning:
Functional Test: The electrician will test the charger to ensure it's functioning correctly.
Safety Check: All electrical connections will be inspected to verify safety standards.
Final Inspection: If required by local regulations, a final inspection will be conducted to ensure compliance with building codes.
6.Important Considerations:
Professional Installation: It's highly recommended to hire a qualified electrician to handle the installation process.
Safety: Follow the all electrical safety guidelines during the installation.
Local Regulations: Familiarize yourself with local building codes and regulations to ensure compliance.
Future-Proofing: Consider the future needs of your EV and choose a charger with sufficient capacity.
Smart Features: Explore smart chargers that offer features like scheduling, remote monitoring, and integration with home energy management systems.
By following these steps and considering the key factors, you can successfully install an EV charger at your home and enjoy the convenience of charging your electric vehicle.
Related Products


Top Selling Products


- Related Blog
- Related Videos
- Reviews
