Introduction
As electric vehicles become more prevalent, the need for convenient and efficient charging solutions grows. Level 2 EV chargers are an excellent option for those looking to charge their vehicles at home, work, or public charging stations. In this article, we will explore what level 2 chargers are, how they work, and how to use them effectively.
What are Level 2 Chargers?
Level 2 chargers are electric vehicle chargers that operate on a higher voltage than a standard 120-volt outlet. They use a 240-volt power source and can charge an electric vehicle much faster than a standard outlet. Level 2 chargers typically have a charging speed of between 15-60 miles per hour (depending on the vehicle’s battery size and the charger’s power output).
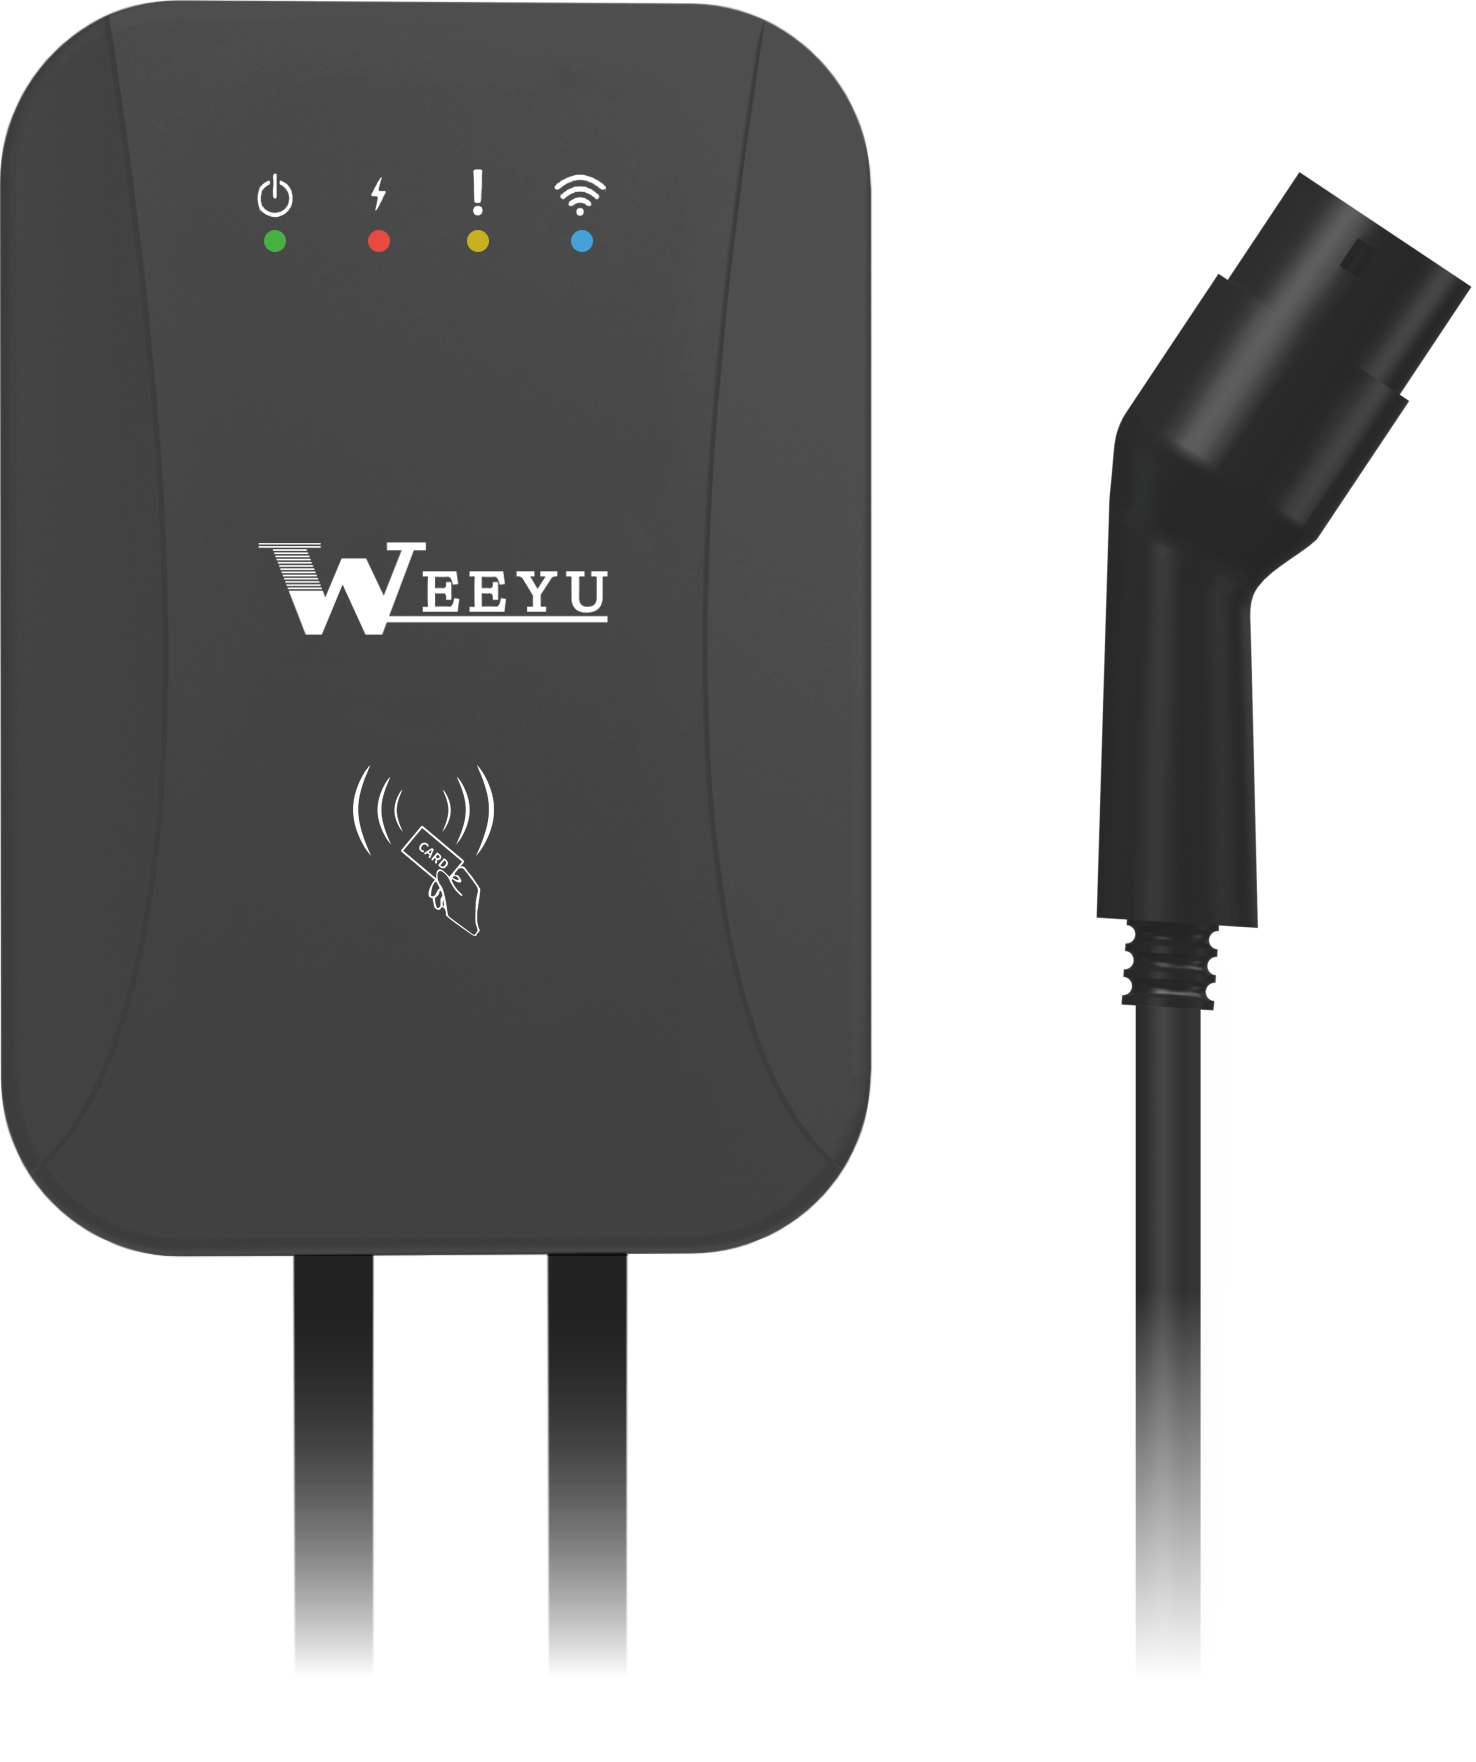
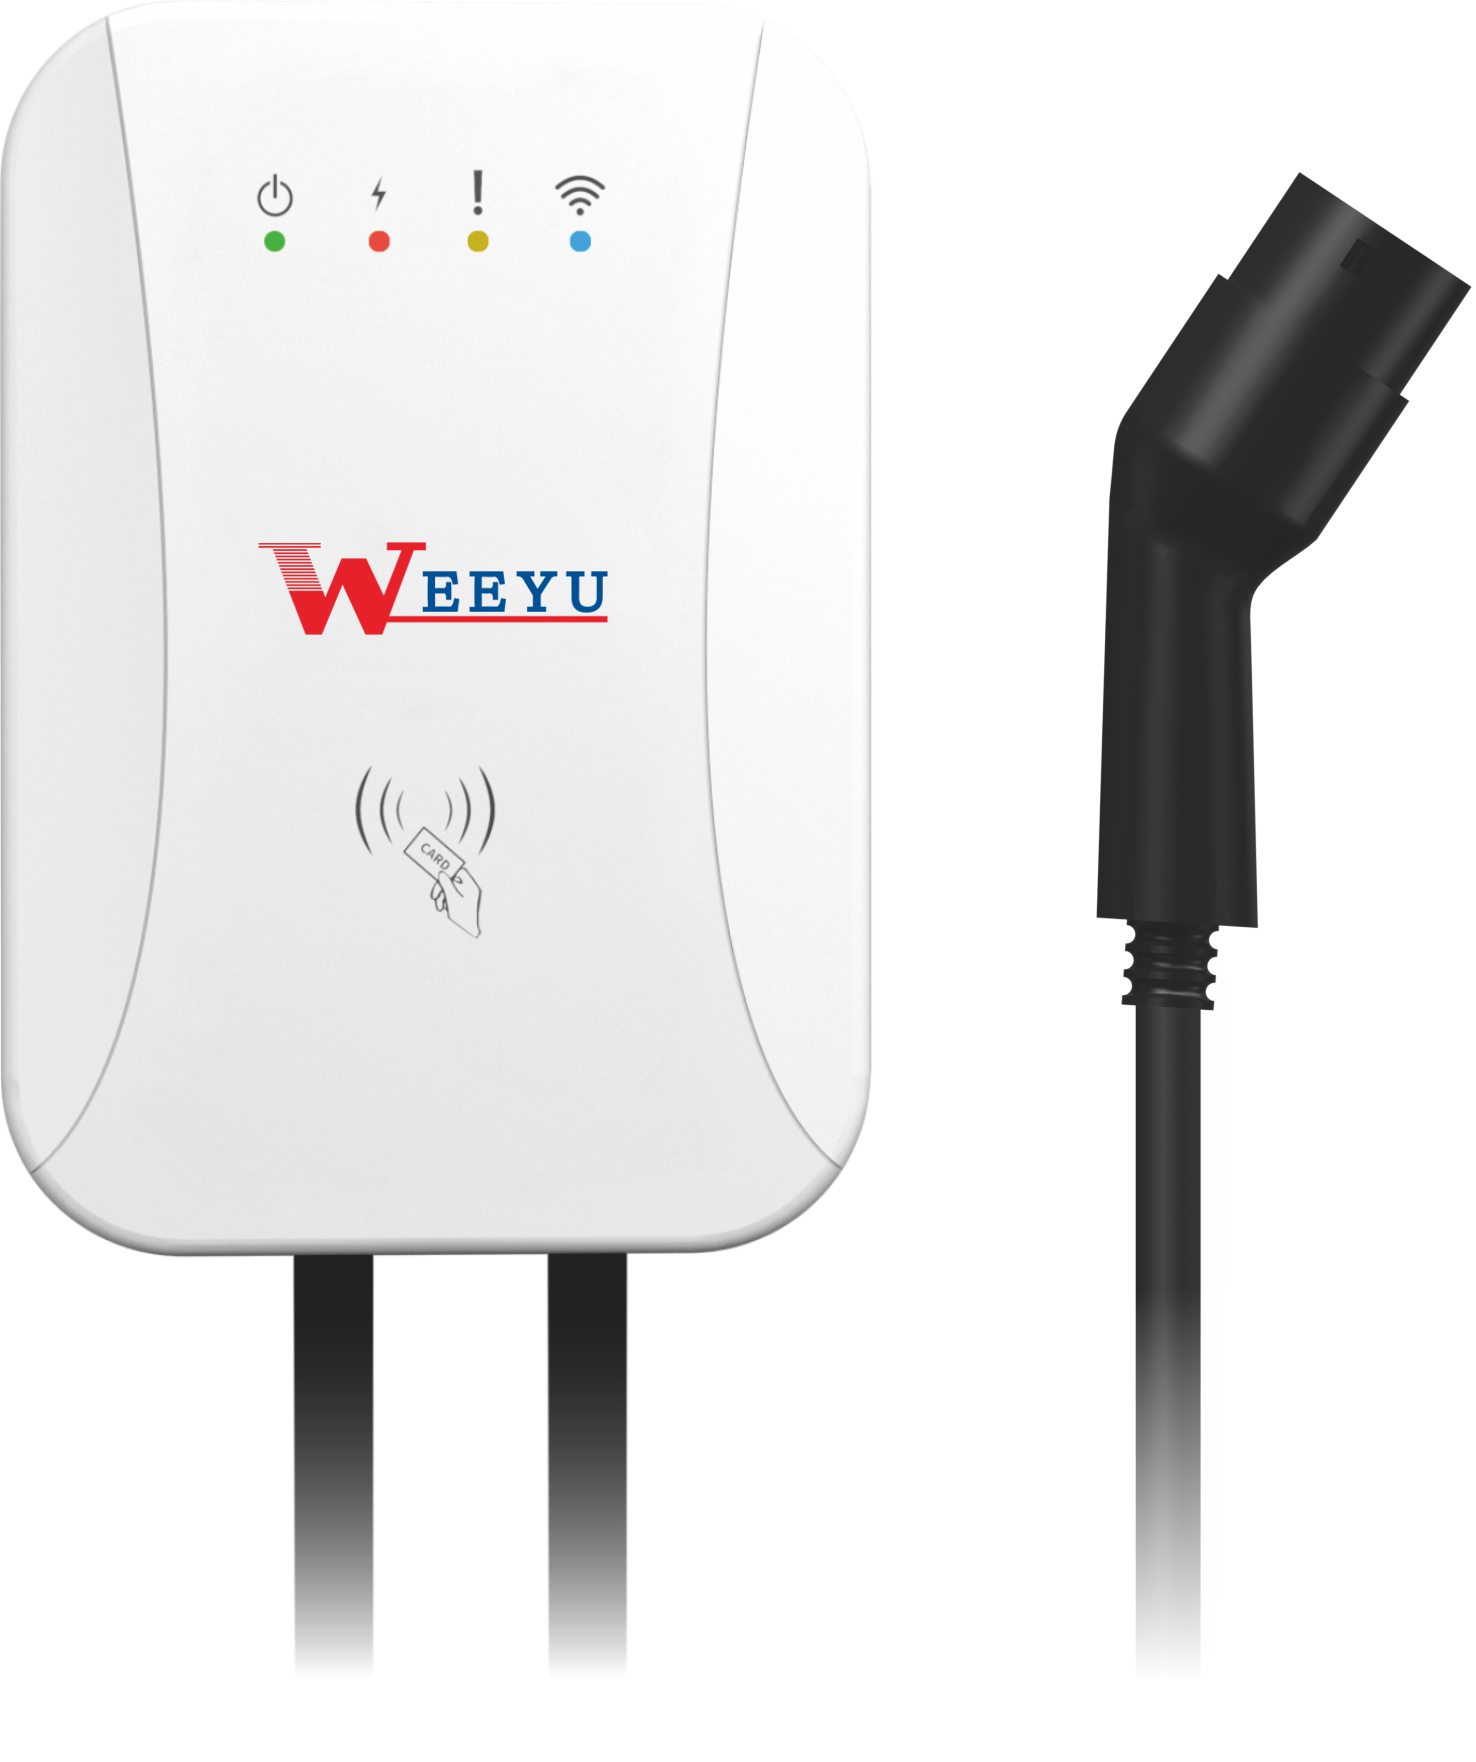
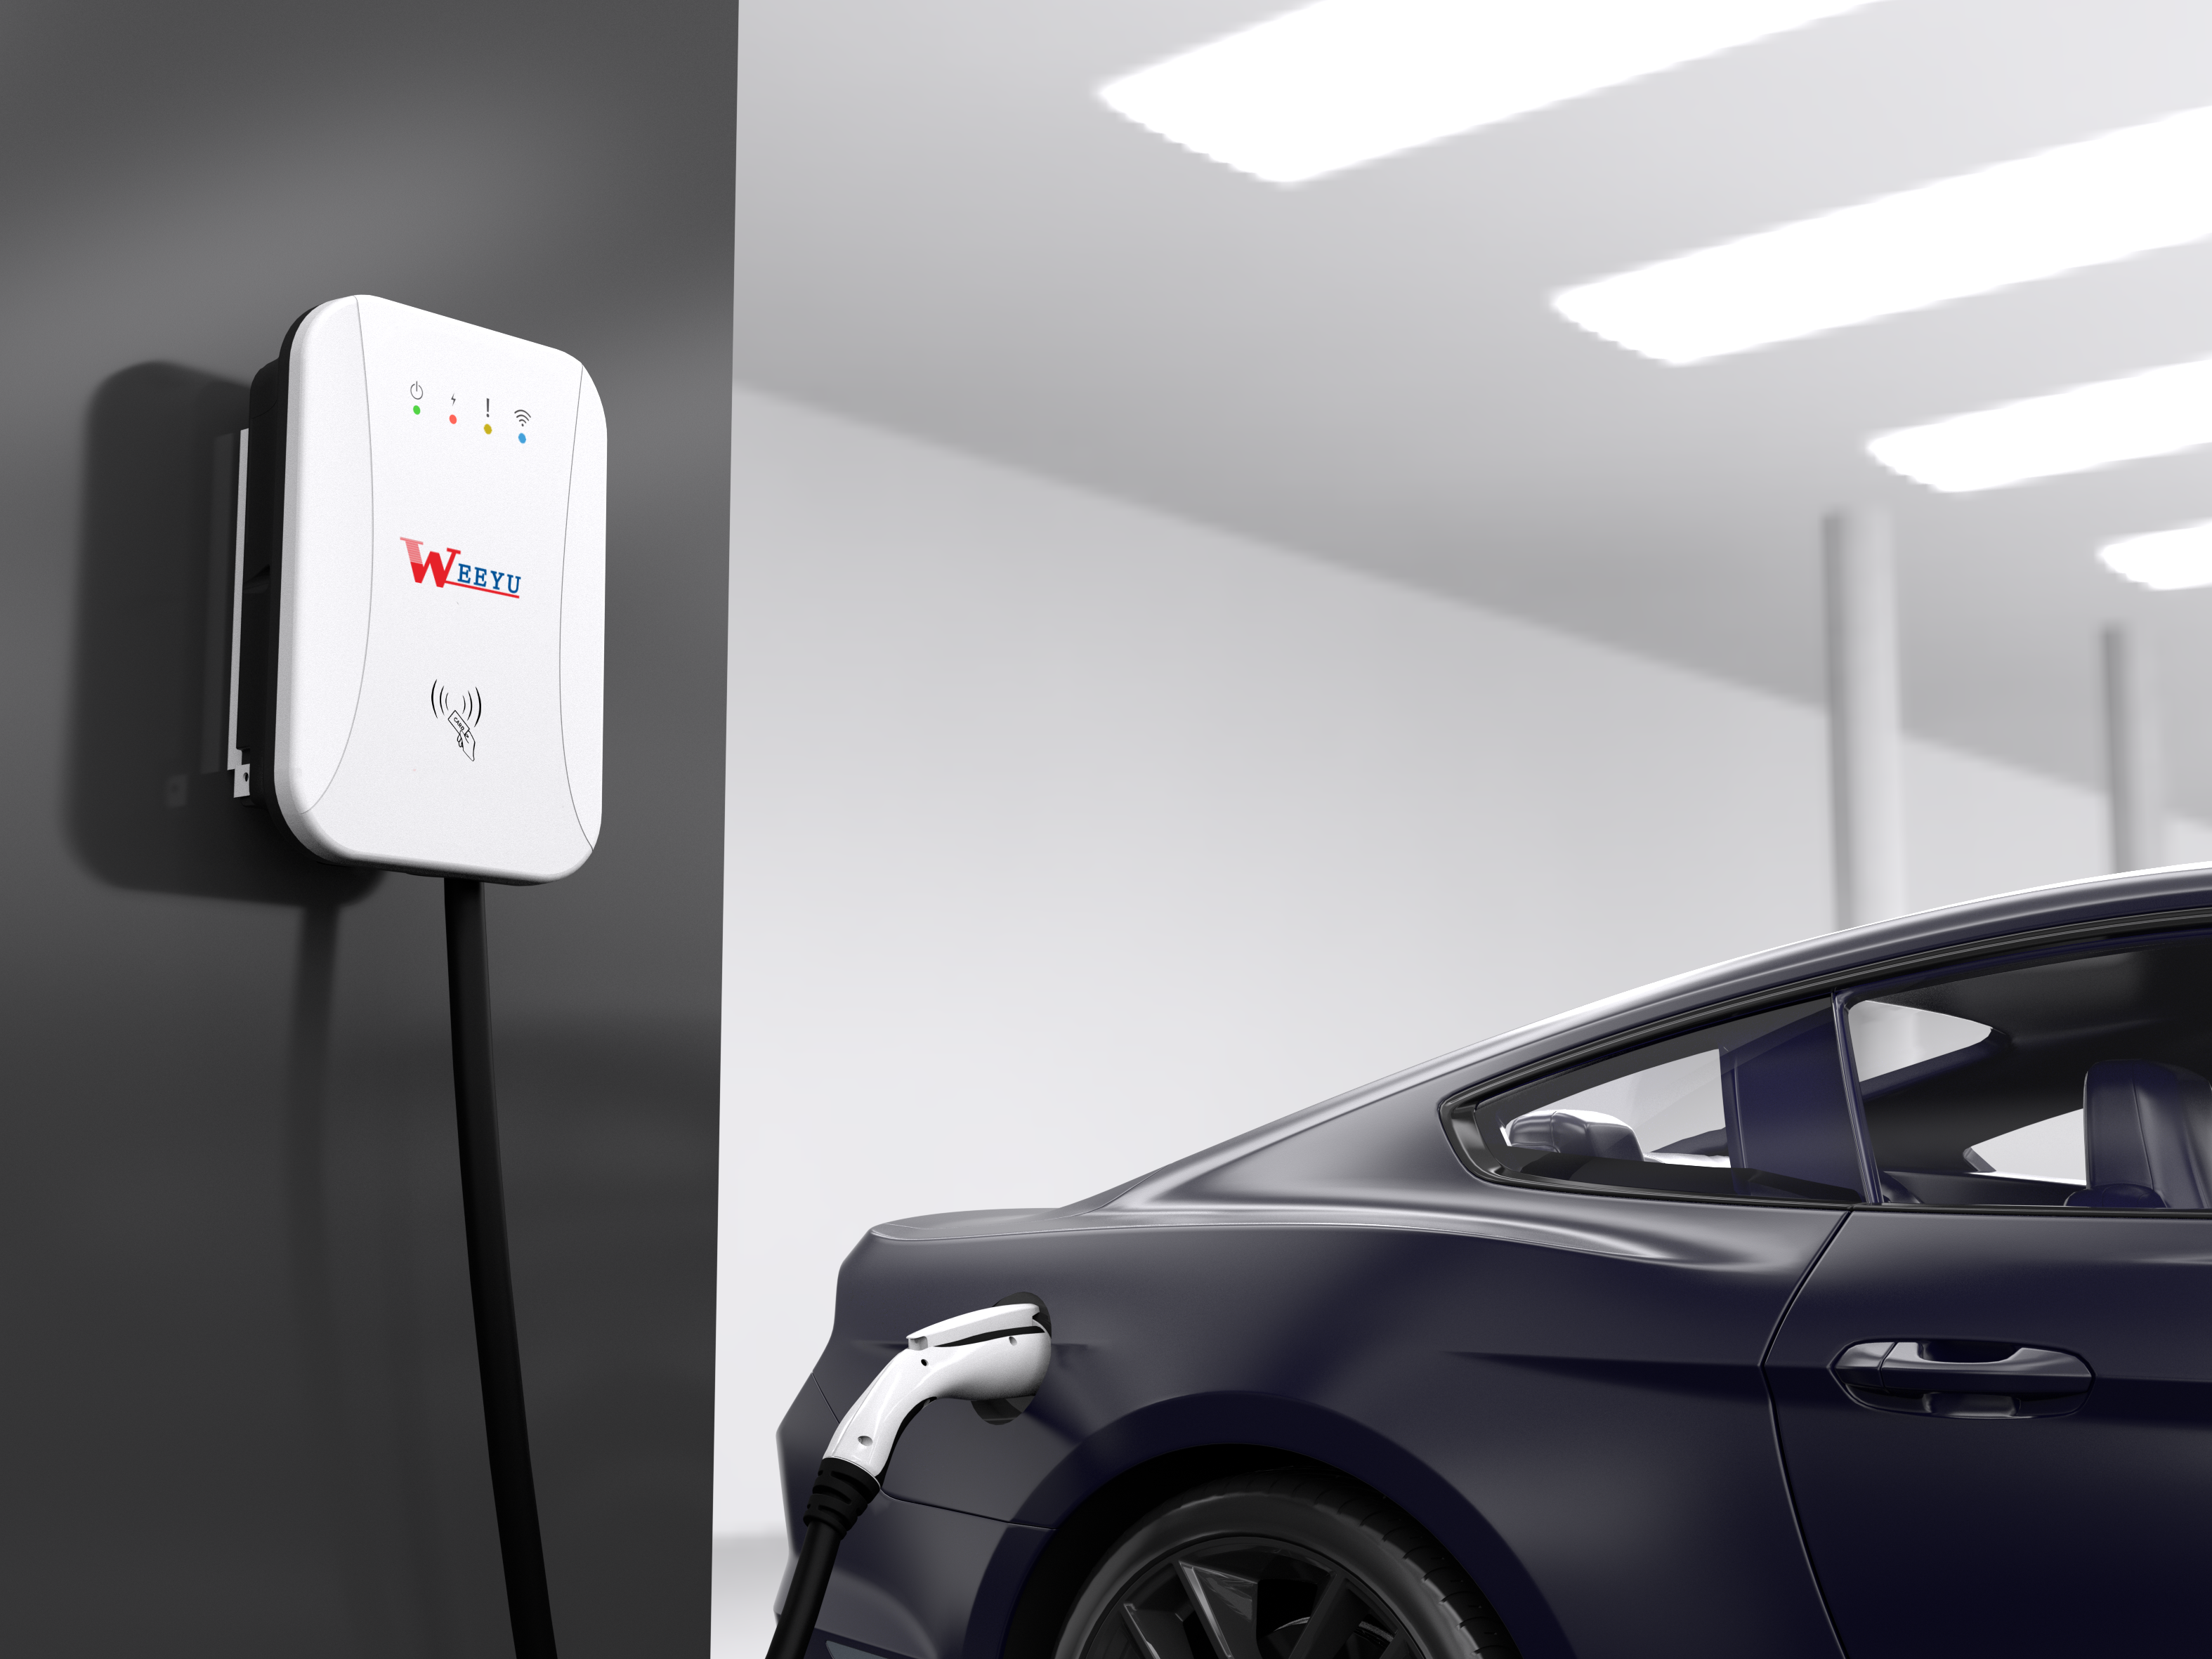
Level 2 chargers come in a range of shapes and sizes, from small, portable chargers to larger, wall-mounted units. They are commonly used in homes, workplaces, and public charging stations.

How Do Level 2 Chargers Work?
Level 2 chargers work by converting the AC power from the power source (such as a wall outlet) to DC power that can be used to charge the electric vehicle’s battery. The charger uses an onboard inverter to convert the AC power to DC power.
The charger communicates with the electric vehicle to determine the battery’s charging needs, such as the battery’s state of charge, the maximum charging speed the battery can handle, and the estimated time until the battery is fully charged. The charger then adjusts the charging rate accordingly.
Level 2 chargers typically have a J1772 connector that plugs into the electric vehicle’s charging port. The J1772 connector is a standard connector that is used by most electric vehicles in North America. However, some electric vehicles (such as Teslas) require an adapter to use a J1772 connector.

Using a Level 2 Charger
Using a level 2 charger is straightforward. Here are the steps to follow:
Step 1: Locate the Charging Port
Locate the electric vehicle’s charging port. The charging port is usually located on the driver’s side of the vehicle and is marked with a charging symbol.
Step 2: Open the Charging Port
Open the charging port by pressing the release button or lever. The location of the release button or lever may vary depending on the make and model of the electric vehicle.
Step 3: Connect the Charger
Connect the J1772 connector to the electric vehicle’s charging port. The J1772 connector should click into place, and the charging port should lock the connector in place.
Step 4: Power On the Charger
Power on the level 2 charger by plugging it into the power source and turning it on. Some chargers may have an on/off switch or a power button.
Step 5: Start the Charging Process
The electric vehicle and the charger will communicate with each other to determine the battery’s charging needs. The charger will start the charging process once the communication is established.
Step 6: Monitor the Charging Process
Monitor the charging process on the electric vehicle’s dashboard or the level 2 charger’s display (if it has one). The charging time will vary depending on the vehicle’s battery size, the charger’s power output, and the battery’s state of charge.
Step 7: Stop the Charging Process
Once the battery is fully charged or you have reached the desired level of charge, stop the charging process by unplugging the J1772 connector from the electric vehicle’s charging port. Some chargers may also have a stop or pause button.

Conclusion
Level 2 chargers are an excellent option for those looking to charge their electric vehicles quickly and efficiently. With their higher power output and faster charging speeds, they are ideal for use in EV charging.
